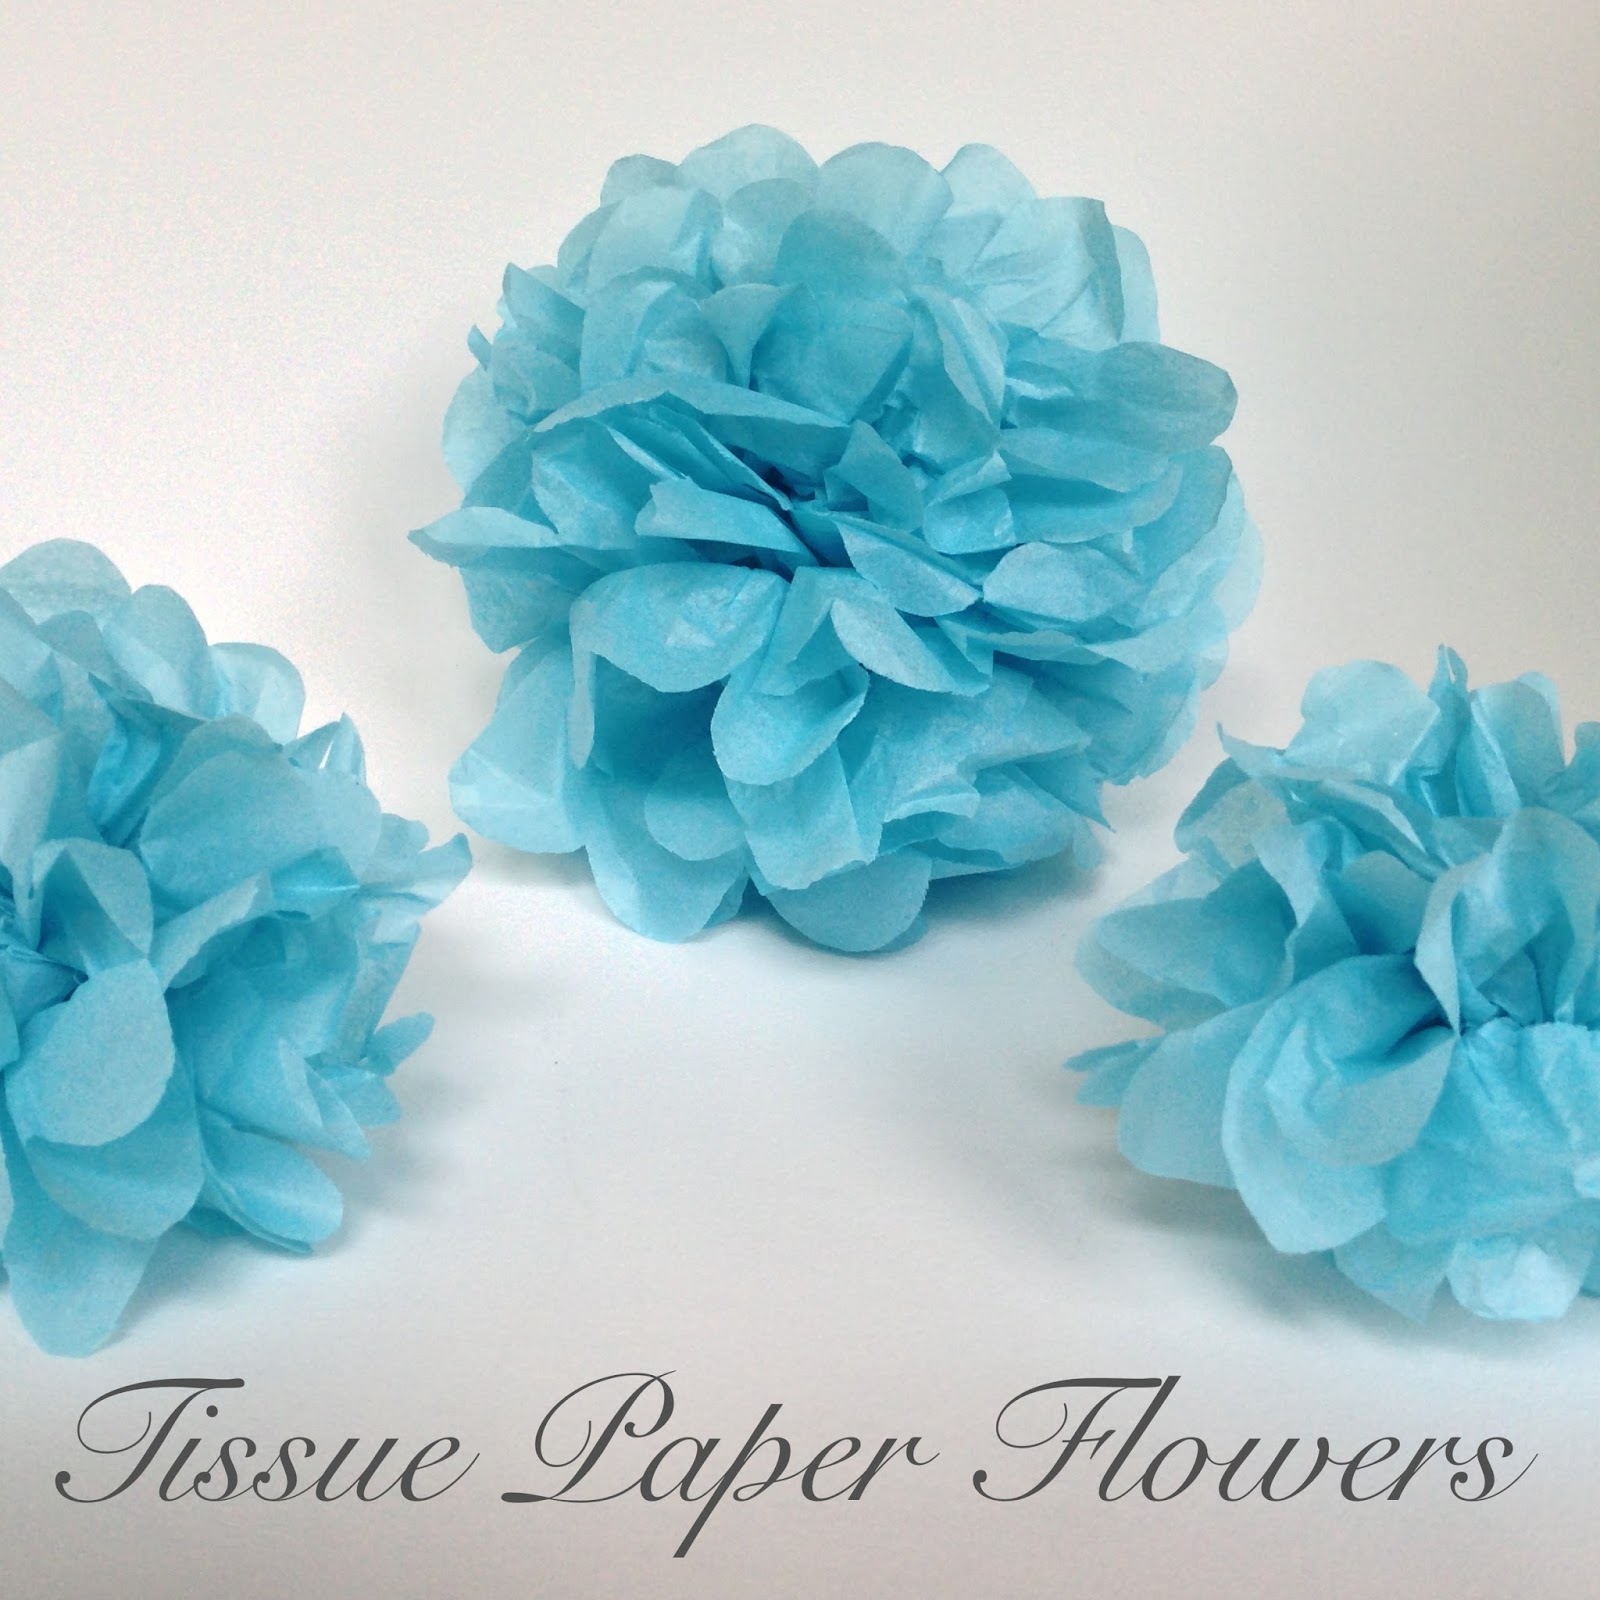
Tissue Paper Flowers – Tutorial
Hi everyone,
Its been such a long time since I last blogged and reading Jo’s blog posts over at The Only Place (a really great blog!) reminded me I needed to dedicate more time over here on blogger.
Here is a really quick and easy tutorial for tissue paper flowers. I know there are millions of these tutorials on the internet but I have been patiently waiting for a free moment to try these out myself for a long time and it was so easy to do I thought I would share it with you all.
- 4-6 sheets of tissue paper. I found that approximately 6″ x 4″ worked well.
- Scissors
- Wool / string / dental floss even
2) Then tie your string tightly around the centre of your folded tissue paper (so around the 3″ height mark) and then cut each end tip into a semi circle shape. This is going to form the edge of your petal so it can be any round shape you like. You should now be able to open your folds and each side will look like a fan.
3) Slowly (the paper can tear very easily) pull apart each layer and as you do so the flower will start to take shape.
That is all there is to it. So simple and really addictive. I have seem them hanging from the ceiling in bedrooms and at weddings placed in trees and centre pieces. Share your flowers with us over on our Facebook page
The post Tissue Paper Flowers – Tutorial appeared first on Tea and Crafting.
Leave a comment